HA EspHome安裝 D1 Mini + HLK LD2410B

HA EspHome安裝 (已經安裝的可以跳過此步驟)
安裝請到

照官網步驟就可以完成

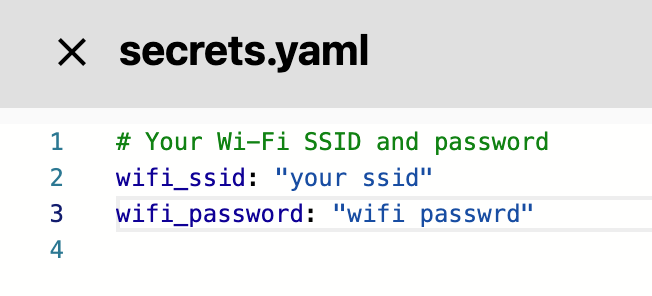
安裝完成後先到 secrets 設定一下wifi的帳號密碼等等會用到

image

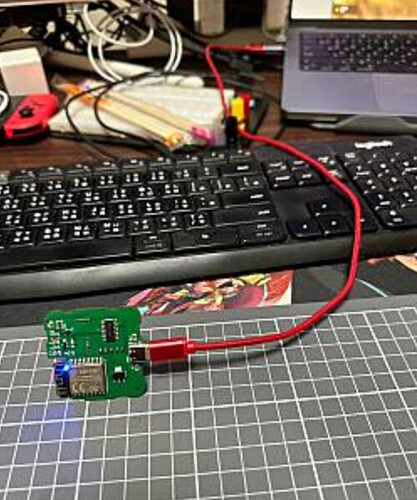
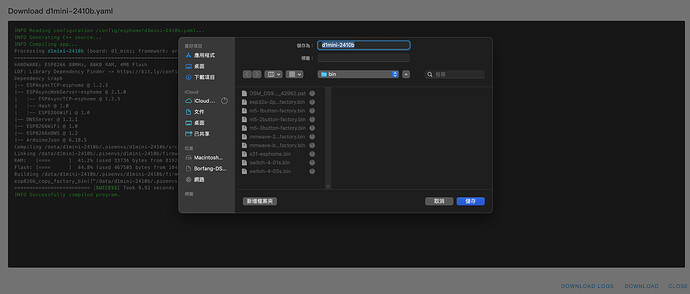
先拿出你的type c線連接你的電腦跟d1 mini

新增一個device


此時會跳出連接port選項 請選擇你的usb選好後點擊連線

如果出現這個表示選錯請重新選一個

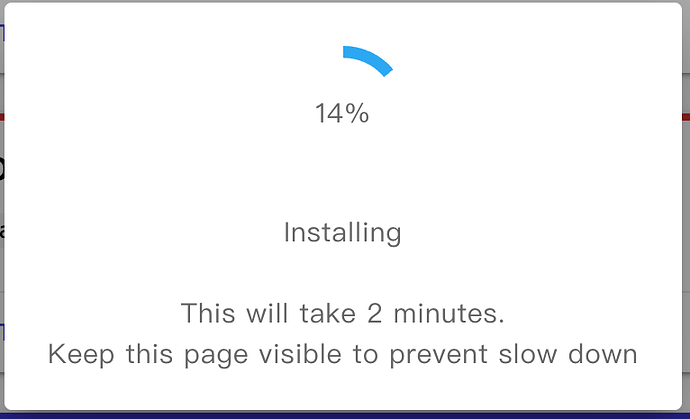
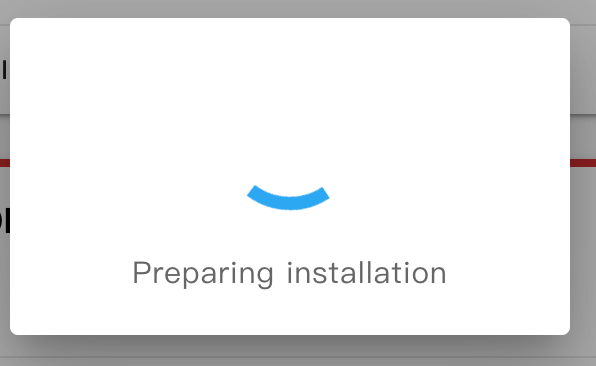
等待第一次燒入完成
image

image

新增完以後直接選剛剛生成的device 點edit進去將yaml整個複製貼上

D1 Mini + 2410B yaml

external_components:
  - source: github://oxan/esphome-stream-server

substitutions:
  name: "d1mini-2410b"
  tcp_port: "8888"
#tcp_port 定義遠端控制vcom連線時用的port

esphome:
  name: ${name}
  name_add_mac_suffix: true
#name_add_mac_suffix 添加mac位址在name後面
#不需要再name後面增加mac位址需把此行註解掉
#缺點 ota時需產出bin並登入web頁面更新
#優點 每個設備加入時都會是不同的id方便辨識

esp8266:
  board: d1_mini

# Enable logging
logger:
 
 baud_rate: 0

# Enable Home Assistant API
api:
 
web_server:
  port: 80
  include_internal: true
  version: 2

ota:

wifi:
  ssid: !secret wifi_ssid
  password: !secret wifi_password
  # Enable fallback hotspot (captive portal) in case wifi connection fails
  ap:
#    ssid: ${name}
    password: "87654321"
# ssid前面加上註解可為ap的ssid後面加上mac位址
# ap ssid加上mac在連esp時可以方便辨識是連哪顆裝置
# 如果不想要加上mac 可將 ssid: $(name) 前面的 # 拿掉

captive_portal:

button:
  - platform: restart
    name: "Restart"

text_sensor:
  - platform: wifi_info
    ip_address:
      name: IP Address
    ssid:
      name: Connected SSID
    mac_address:
      name: Mac Address

sensor:
# Uptime
  - platform: uptime
    name: Uptime
    filters:
      - lambda: return x / 3600;
    unit_of_measurement: "h"
    accuracy_decimals: 1

# WiFi Signal
  - platform: wifi_signal
    name: WiFi Signal
    update_interval: 60s

#  - platform: bh1750
#    name: "Illuminance"
#    address: 0x23
#    update_interval: 30s

#i2c:
#  sda: 4
#  scl: 5
#  scan: true
#  id: bus_a
# 此2段為定義BH1750光感的設定如果有加上光感可將前面的 # 拿掉即可使用光感

uart:
  id: uart_bus1
  tx_pin: GPIO15
  rx_pin: GPIO13
  baud_rate: 256000

stream_server:
   uart_id: uart_bus1
   port: ${tcp_port}

# optional binary sensor to monitor serial connection:
binary_sensor:
  - platform: gpio
    id: motion
    pin: GPIO16
    name: "Motion"
    device_class: motion
    on_state:
     - if:
         condition:
         - binary_sensor.is_on: motion
         then:
         - output.turn_on: device_light
     - if:
         condition: 
         - binary_sensor.is_off: motion
         then:
         - output.turn_off: device_light

output:
  - platform: gpio
    id: "device_light"
    pin: GPIO2  #D4
    inverted: true
    
light:
  - platform: binary
    output: "device_light"
    name: "device_light"

複製貼上後注意yaml裡面的註解
修改你要的名稱還有相關的一些設定 比如ap連線密碼
確認沒問題後儲存即可

選擇install 開始第一次正式燒錄
有二顆以上要燒錄的直接從這邊接著燒錄就好

因是直接接電腦選擇 Plug into this computer

選擇正確的usb連接port就開始正式的燒入
待燒錄完成後如果secrets有設定正確設備就會直接連上你家的wifi
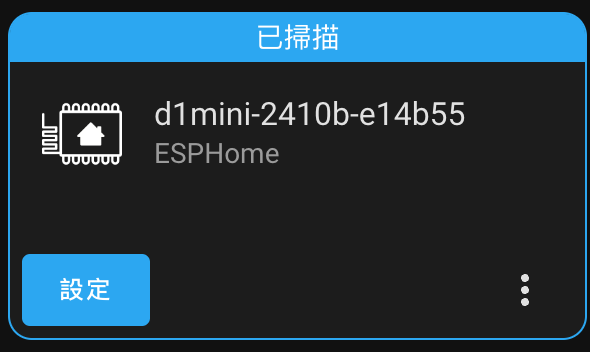
HA會自動發現你剛燒好的d1mini

image
直接設定加入HA

以上為D1 Mini + 2410B 燒錄分享
很多人可能是第一次接觸esphome所以說的有點囉唆 請見諒

Vcom + HLK app設定方式

補充資料:

  1. 如果secrets 沒有設定正確導致D1 Mini沒有連上家中wifi
    打開手機或者平板的wifi連接設定
wifi:
  ssid: !secret wifi_ssid
  password: !secret wifi_password
  # Enable fallback hotspot (captive portal) in case wifi connection fails
  ap:
#    ssid: ${name}
    password: "87654321"

依照這邊 ssid 定義的名稱去尋找 如果照我的yaml沒有做修改
會出現d1mini-2410b-xxxxxx的ssid出現(xxxxxx為設備的wifi mac位址)
密碼為87654321

連接後會跳轉到wifi連接頁面 選擇你家的wifi輸入密碼後儲存即可
如果沒有跳轉打開瀏覽器輸入 http://192.168.4.1 即可到wifi連接頁面

  1. 關於更新及OTA的部分 如果yaml照我提供的範例沒有做任何修正
    請依照以下步驟去更新
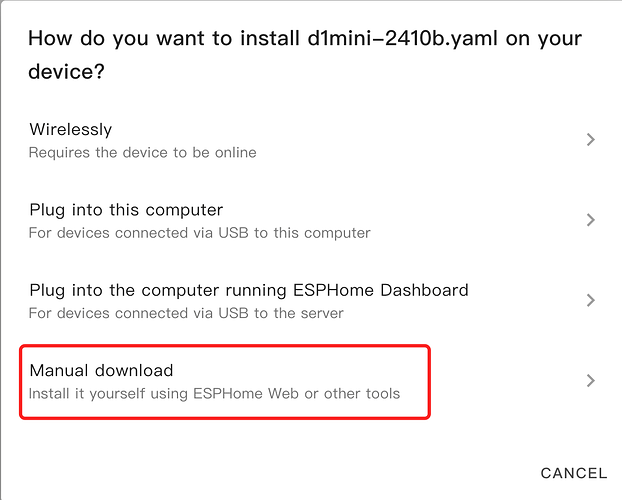
    到esphome頁面選擇install
    image

選擇Manual download

選擇Modern format

下載更新用的bin檔案

下載完後登入要更新的D1 Mini
IP可以到裝置資訊那邊查詢

登入後在下方的OTA Update選擇剛剛下載的bin檔
按下更新等待更新完畢即可完成更新

1個讚

這是不是還是用LD2410的DO的方式?
不知道ESPHome什麼時候才會正式支援

因作者有更改Stream Server資料以下這段已經不需要加custom_component:

  • lambda: |-
    auto stream_server = new StreamServerComponent(id(uart_bus1));
    return {stream_server};

有加的請拿掉 不然更新的時候會出現問題

1個讚

有的人不喜歡有人的時候藍燈會亮新增了一個
Motion Light Control開關


yaml如下

external_components:
  - source: github://oxan/esphome-stream-server

substitutions:
  name: "d1mini-2410b"
  tcp_port: "8888"
#tcp_port 定義遠端控制vcom連線時用的port

esphome:
  name: ${name}
  name_add_mac_suffix: true
#name_add_mac_suffix 添加mac位址在name後面
#不需要再name後面增加mac位址需把此行註解掉
#缺點 ota時需產出bin並登入web頁面更新
#優點 每個設備加入時都會是不同的id方便辨識

esp8266:
  board: d1_mini

# Enable logging
logger:
 
 baud_rate: 0

# Enable Home Assistant API
api:
 
web_server:
#  port: 80
#  include_internal: true
#  version: 2

ota:

wifi:
  ssid: !secret wifi_ssid
  password: !secret wifi_password
  # Enable fallback hotspot (captive portal) in case wifi connection fails
  ap:
#    ssid: ${name}
    password: "87654321"
# ssid前面加上註解可為ap的ssid後面加上mac位址
# ap ssid加上mac在連esp時可以方便辨識是連哪顆裝置
# 如果不想要加上mac 可將 ssid: $(name) 前面的 # 拿掉

captive_portal:

button:
  - platform: restart
    name: "Restart"

text_sensor:
  - platform: wifi_info
    ip_address:
      name: IP Address
    ssid:
      name: Connected SSID
    mac_address:
      name: Mac Address

sensor:
# Uptime
  - platform: uptime
    name: Uptime
    filters:
      - lambda: return x / 3600;
    unit_of_measurement: "h"
    accuracy_decimals: 1

# WiFi Signal
  - platform: wifi_signal
    name: WiFi Signal
    update_interval: 60s

#  - platform: bh1750
#    name: "Illuminance"
#    address: 0x23
#    update_interval: 30s

#i2c:
#  sda: 4
#  scl: 5
#  scan: true
#  id: bus_a
# 此2段為定義BH1750光感的設定如果有加上光感可將前面的 # 拿掉即可使用光感

uart:
  id: uart_bus1
  tx_pin: GPIO15
  rx_pin: GPIO13
  baud_rate: 256000

stream_server:
   uart_id: uart_bus1
   port: ${tcp_port}

binary_sensor:
  - platform: gpio
    id: motion
    pin: GPIO16
    name: "Motion"
    device_class: motion
    on_state:
     - if:
         condition:
           and:
             - binary_sensor.is_on: motion
             - switch.is_on: motion_light_control
         then:
         - output.turn_on: device_light
     - if:
         condition: 
         - binary_sensor.is_off: motion
         then:
         - output.turn_off: device_light

switch:
  - platform: template
    name: "Motion Light Control"
    id: motion_light_control
    optimistic: true

output:
  - platform: gpio
    id: "device_light"
    pin: GPIO2  # D4
    inverted: true
    
light:
  - platform: binary
    output: "device_light"
    name: "device_light"

1個讚

請問一下大大,我參照您這樣的設定,有發現實體不定時會出現"不可用"的情況,想請問大大是不是也有這樣的情況?

檢查wifi是否穩定